How to Enable or Disable Windows 11 Services
Windows 11 runs many background programs called services. These help your computer do things like search for files, print documents, or check for updates. Most of these run without you ever seeing them.
Why: You might want to change these settings to speed up your computer or to fix a problem where a specific feature isn’t working correctly.
What happens when done: Your computer will either start a program automatically when you turn it on, or it will wait until you open a specific app to start the process, which can help save system memory.
Understanding Service Startup Types
Windows manages these services in a few different ways:
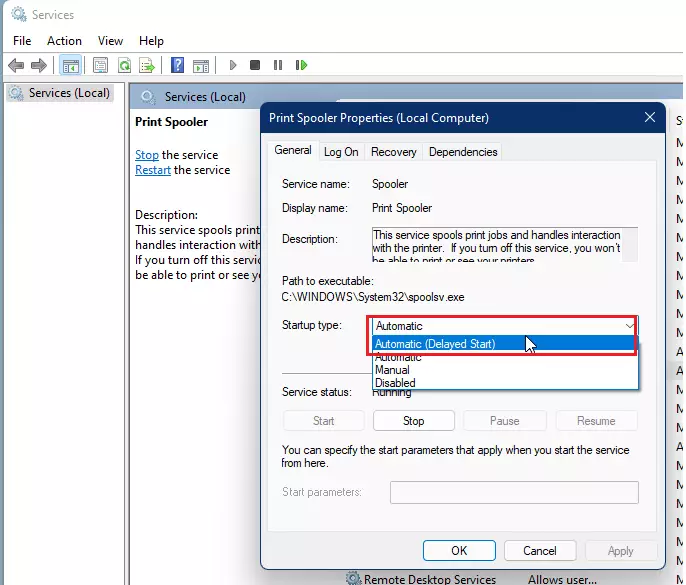
- Automatic: The service starts as soon as you turn on your computer.
- Automatic (Delayed Start): The service starts shortly after the computer finishes booting up to keep things running smoothly.
- Manual: The service only starts when you open an app that needs it.
- Disabled: The service is turned off completely and will not run.
How to Manage Services in the Services App
Note: You must be logged in with an administrator account to change these settings.
To open the management screen, click the Start button and search for “Services.” You can also press the Windows key + R, type the following command, and press Enter:
services.msc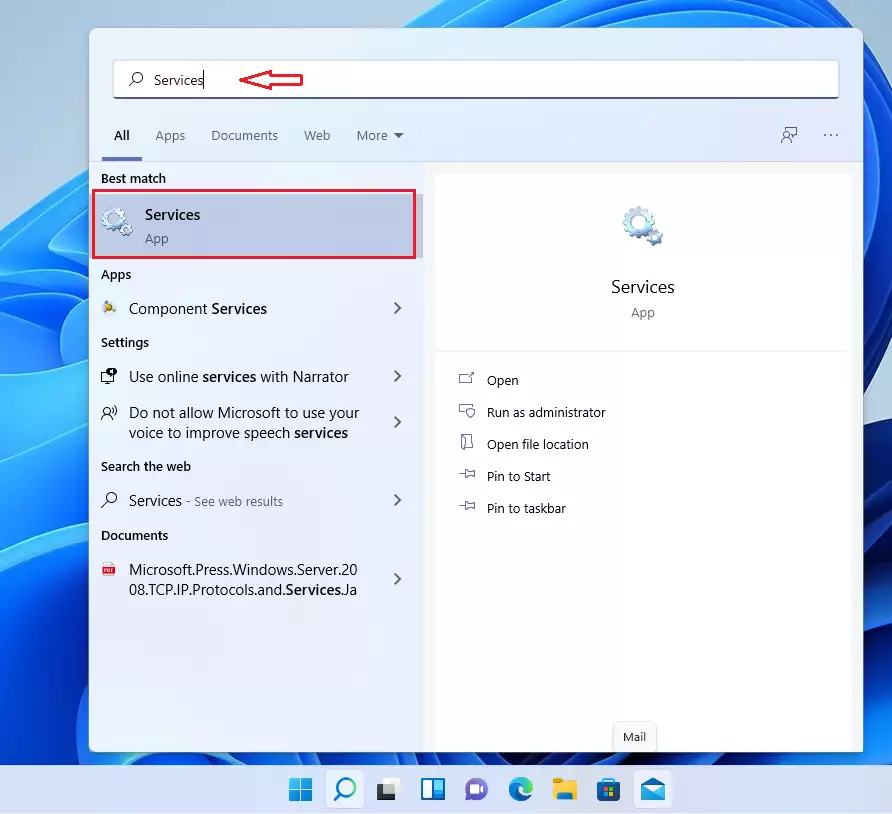

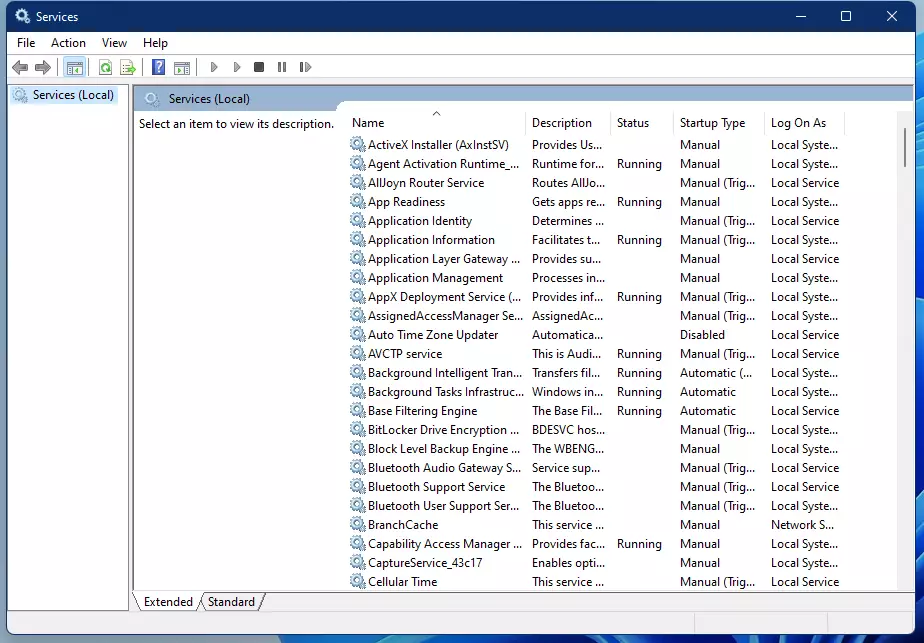
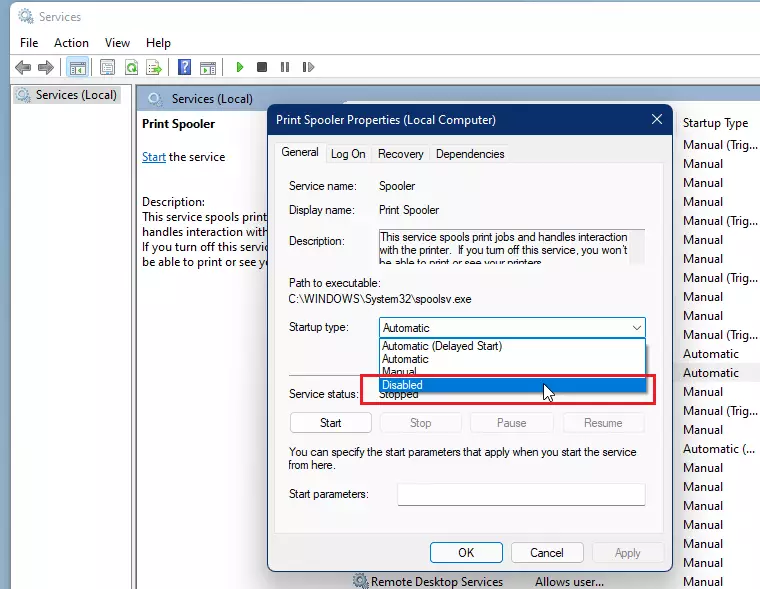
Once the window opens, find the service you want to change and double-click it. This will open the properties window.
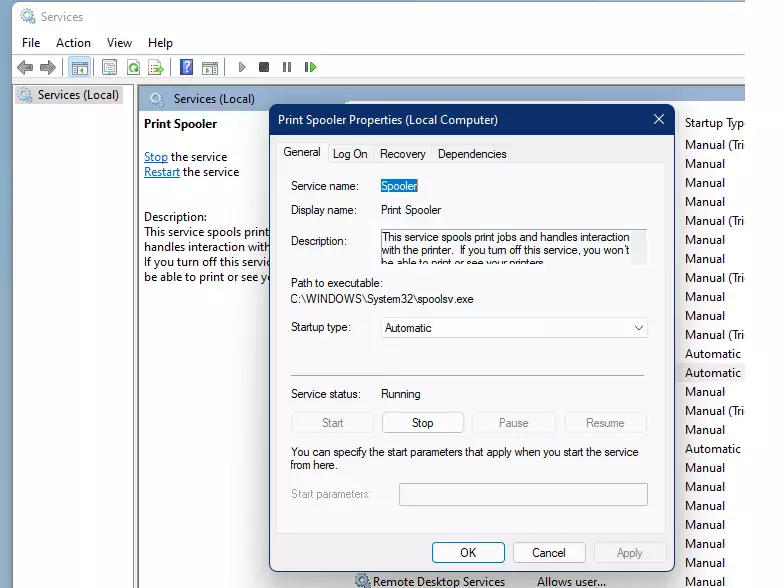
To enable a service, change the “Startup type” to Automatic or Automatic (Delayed Start). Click Apply, then OK. To start it right away, click the Start button in the same window.
To disable a service, click the Stop button. Then, change the “Startup type” to Disabled or Manual and click OK.

Managing Services via Command Prompt
You can also use the Command Prompt to change services. First, you will need to open the Command Prompt as administrator open the Command Prompt as an administrator.

Use these commands to change a service (replace “service name” with the actual name of the service):
To set to Automatic:

sc config "service name" start=auto
To set to Automatic (Delayed):

sc config "service name" start=delayed-auto
To stop and disable:

sc stop "service name" && sc config "service name" start=disabled
To set to Manual:

sc config "service name" start=demand && sc start "service name"
Summary
Managing Windows services is a great way to keep your computer running efficiently. By choosing which programs start automatically and which ones stay off until needed, you can manage your system’s resources better. Always be careful when changing these settings, as disabling the wrong service can cause certain parts of Windows to stop working properly.
Was this guide helpful?


Leave a Reply Cancel reply